Lamp Kit Design
The problem with lamps
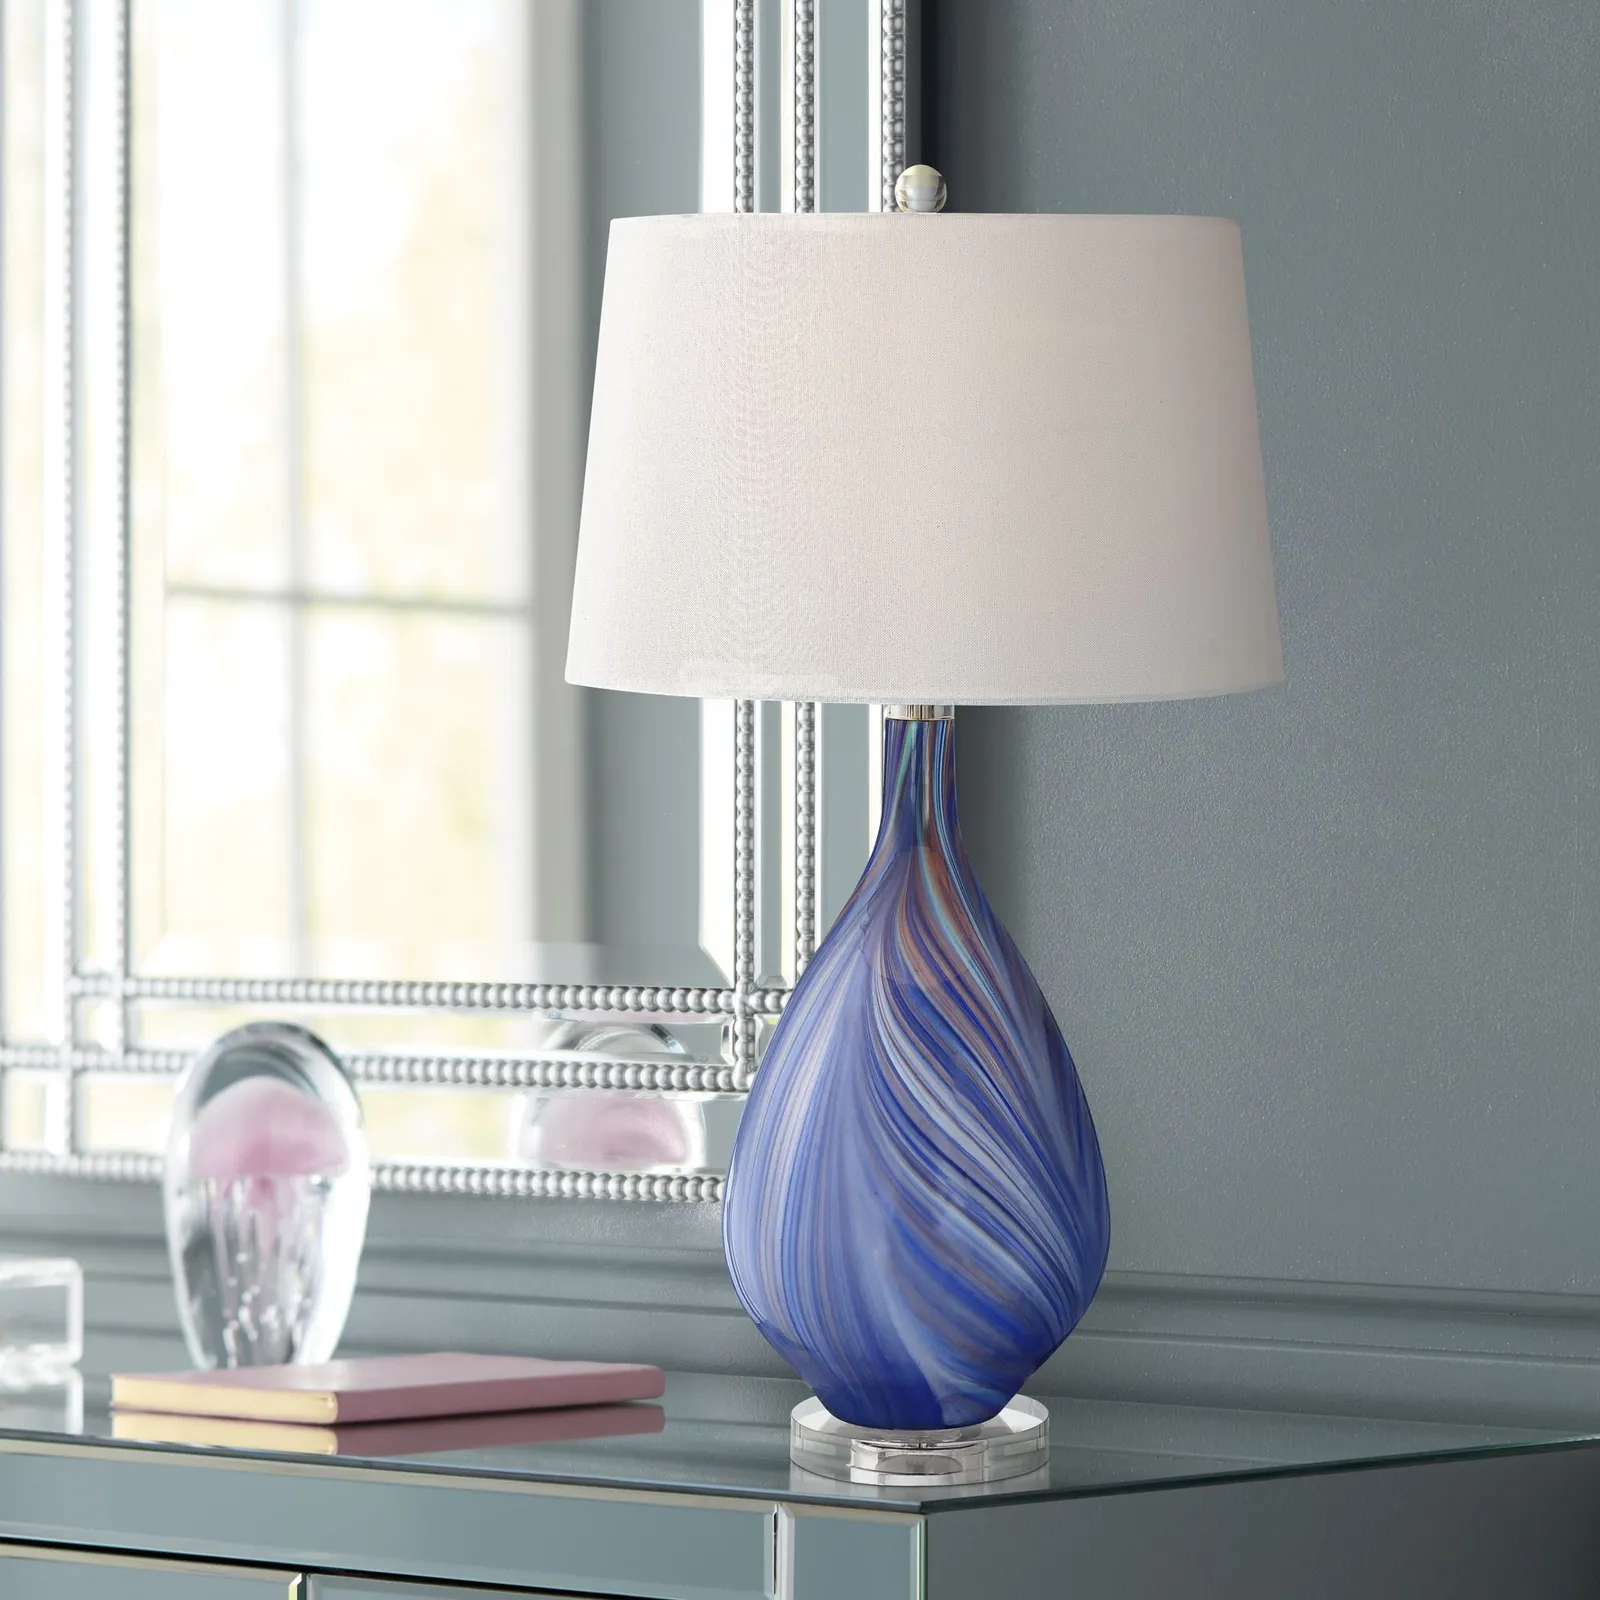
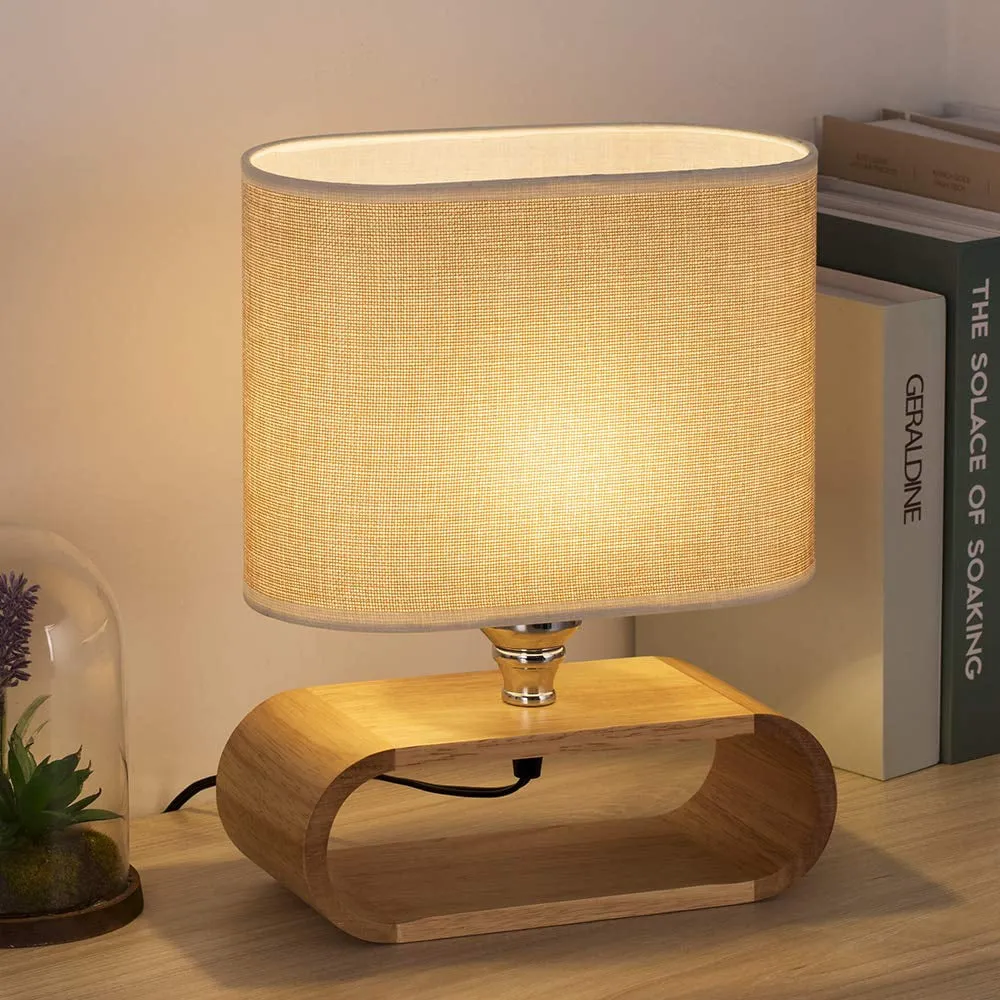
Designer lamps are beautiful, but most people can't afford them. A basic lamp costs $10 to $20, and a designer one can cost ten times that. I've always wanted to find easy ways to make pricey products affordable.
How can I make a lamp anyone can produce and assemble?
Base components and sketches
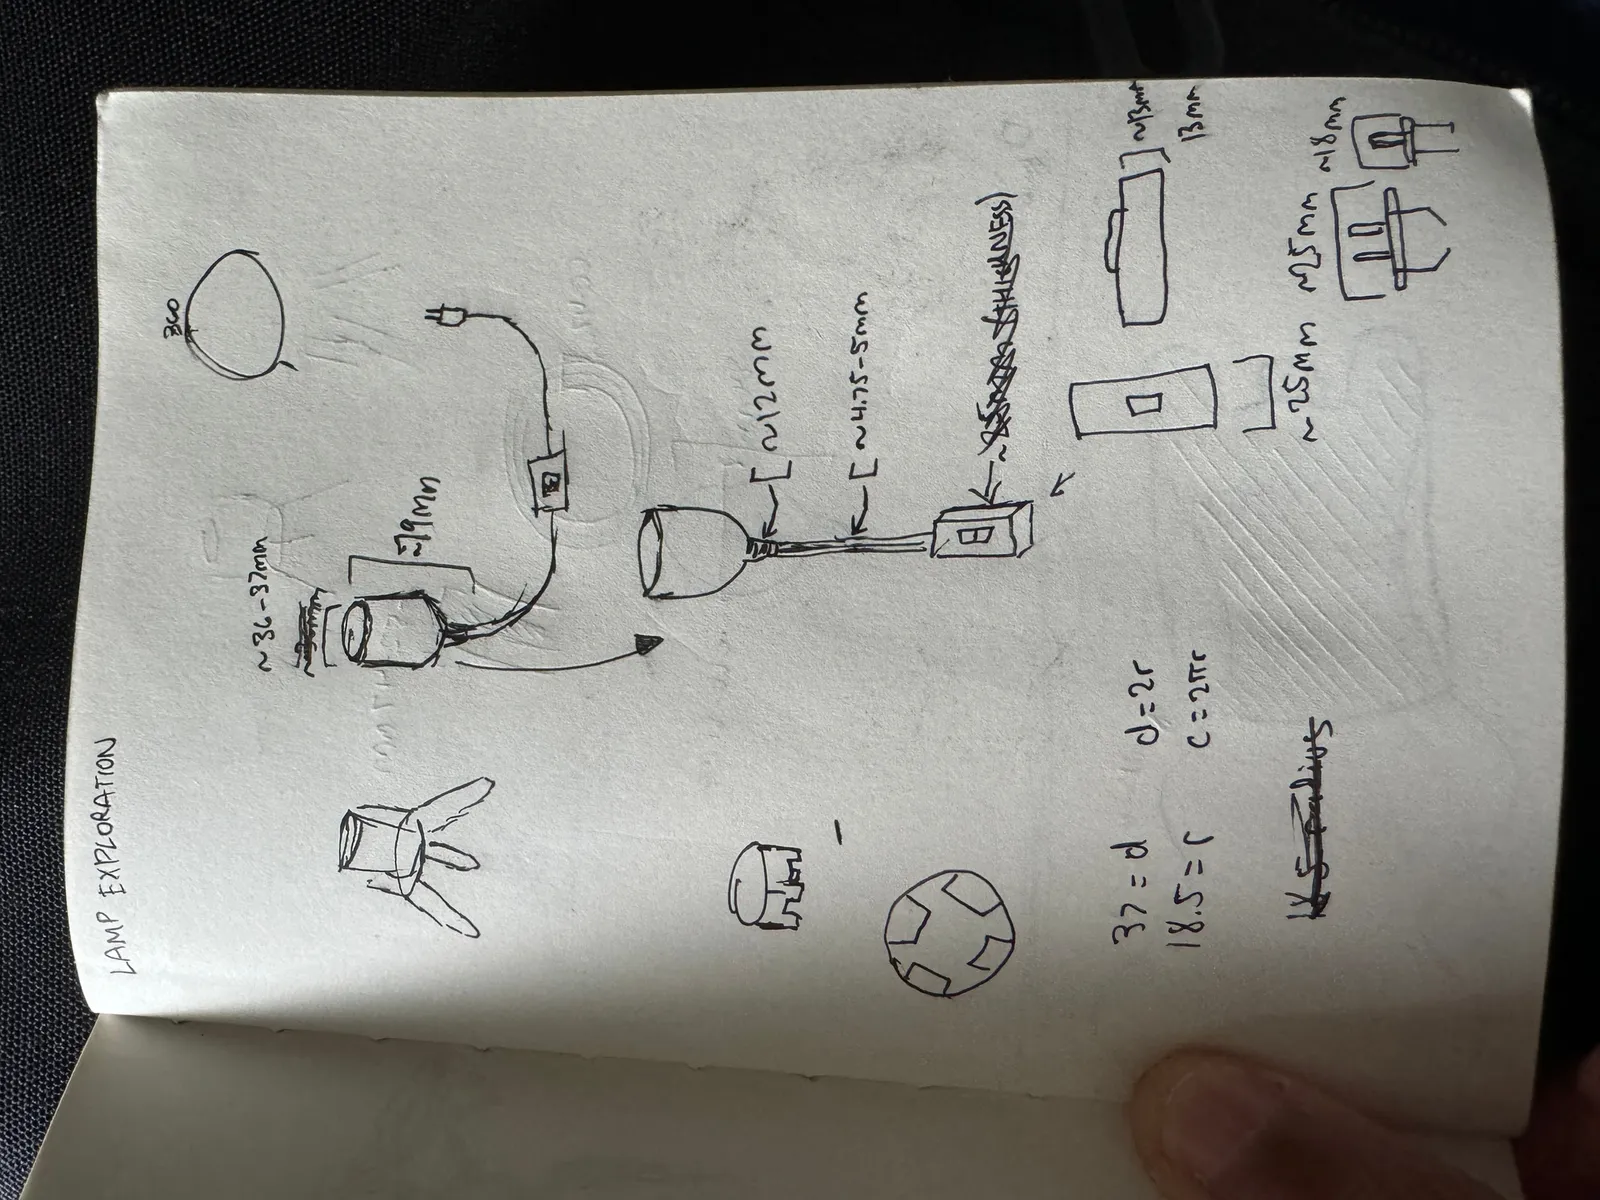
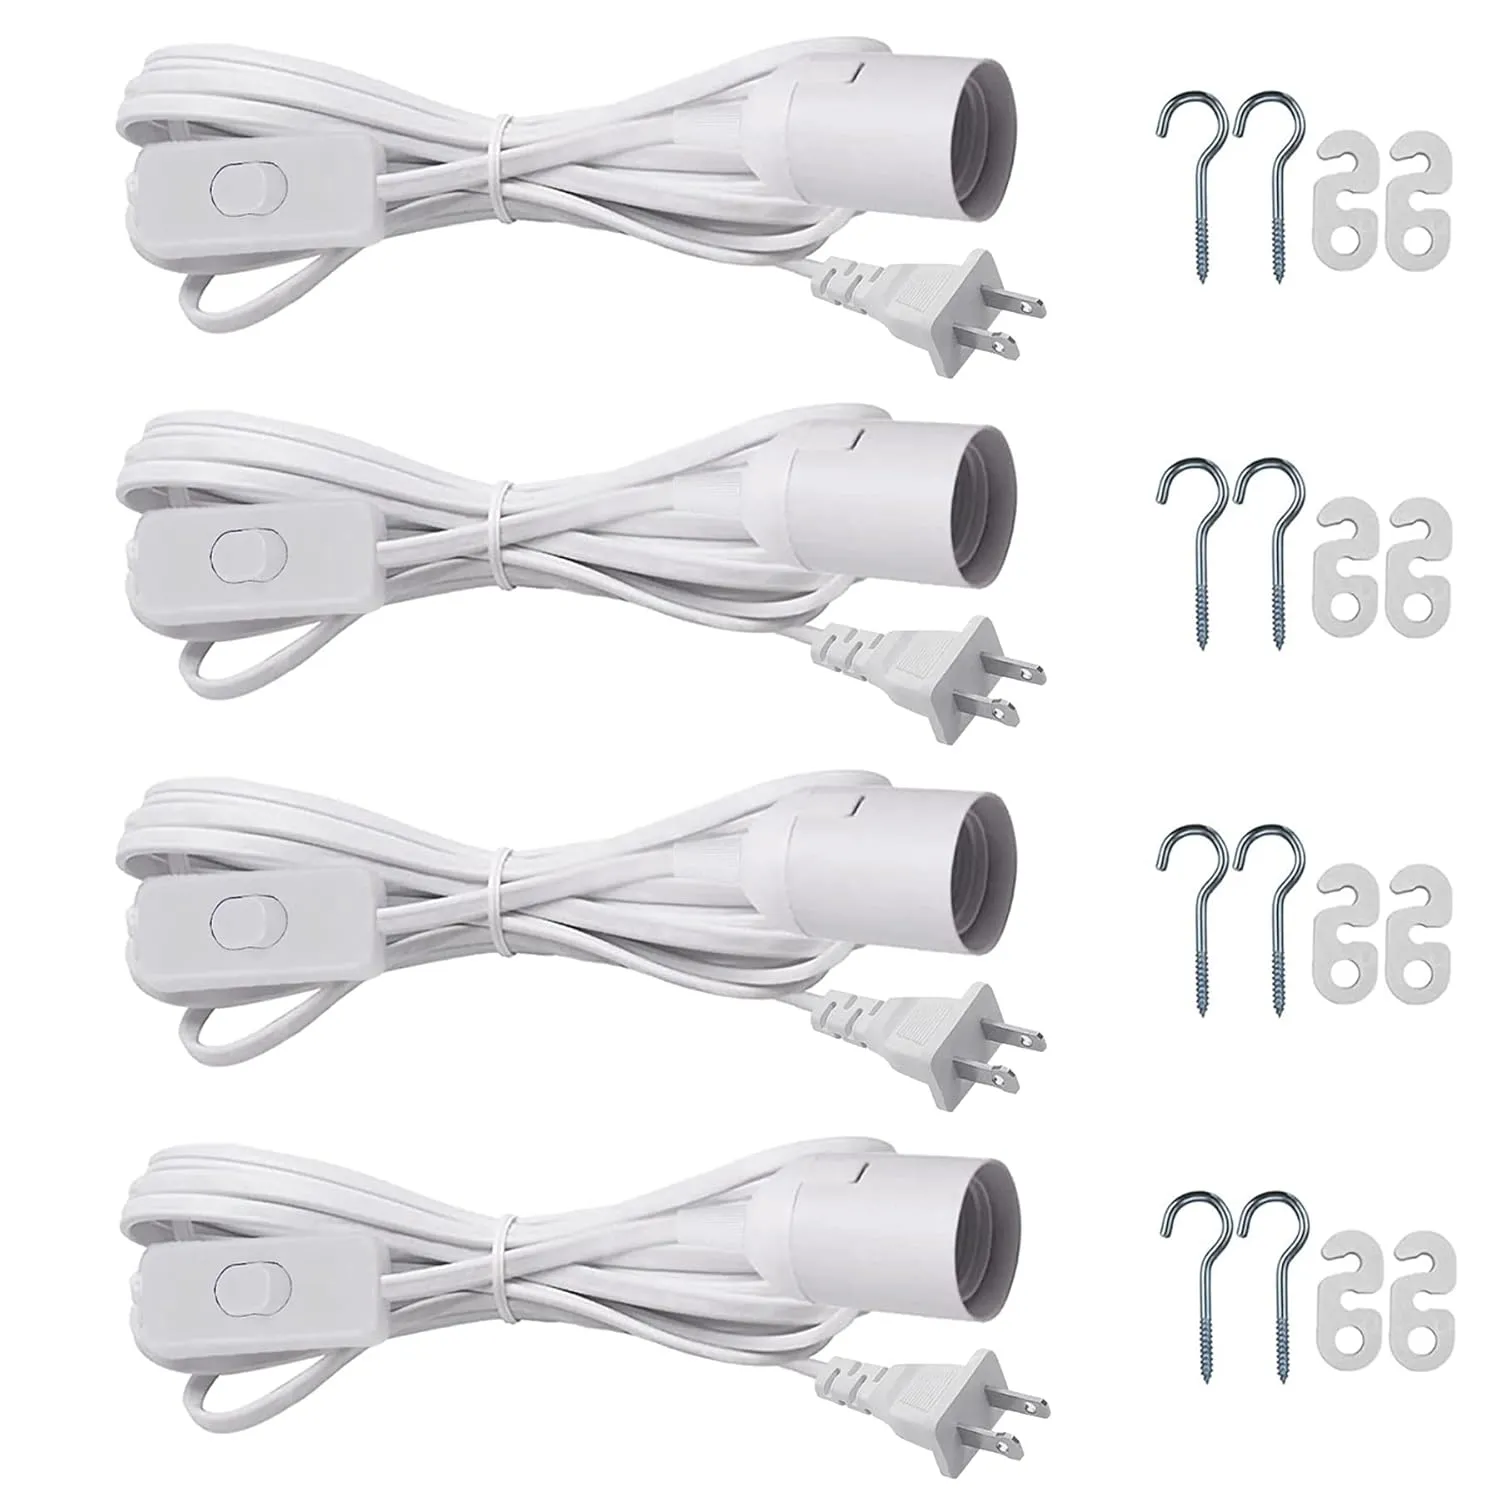
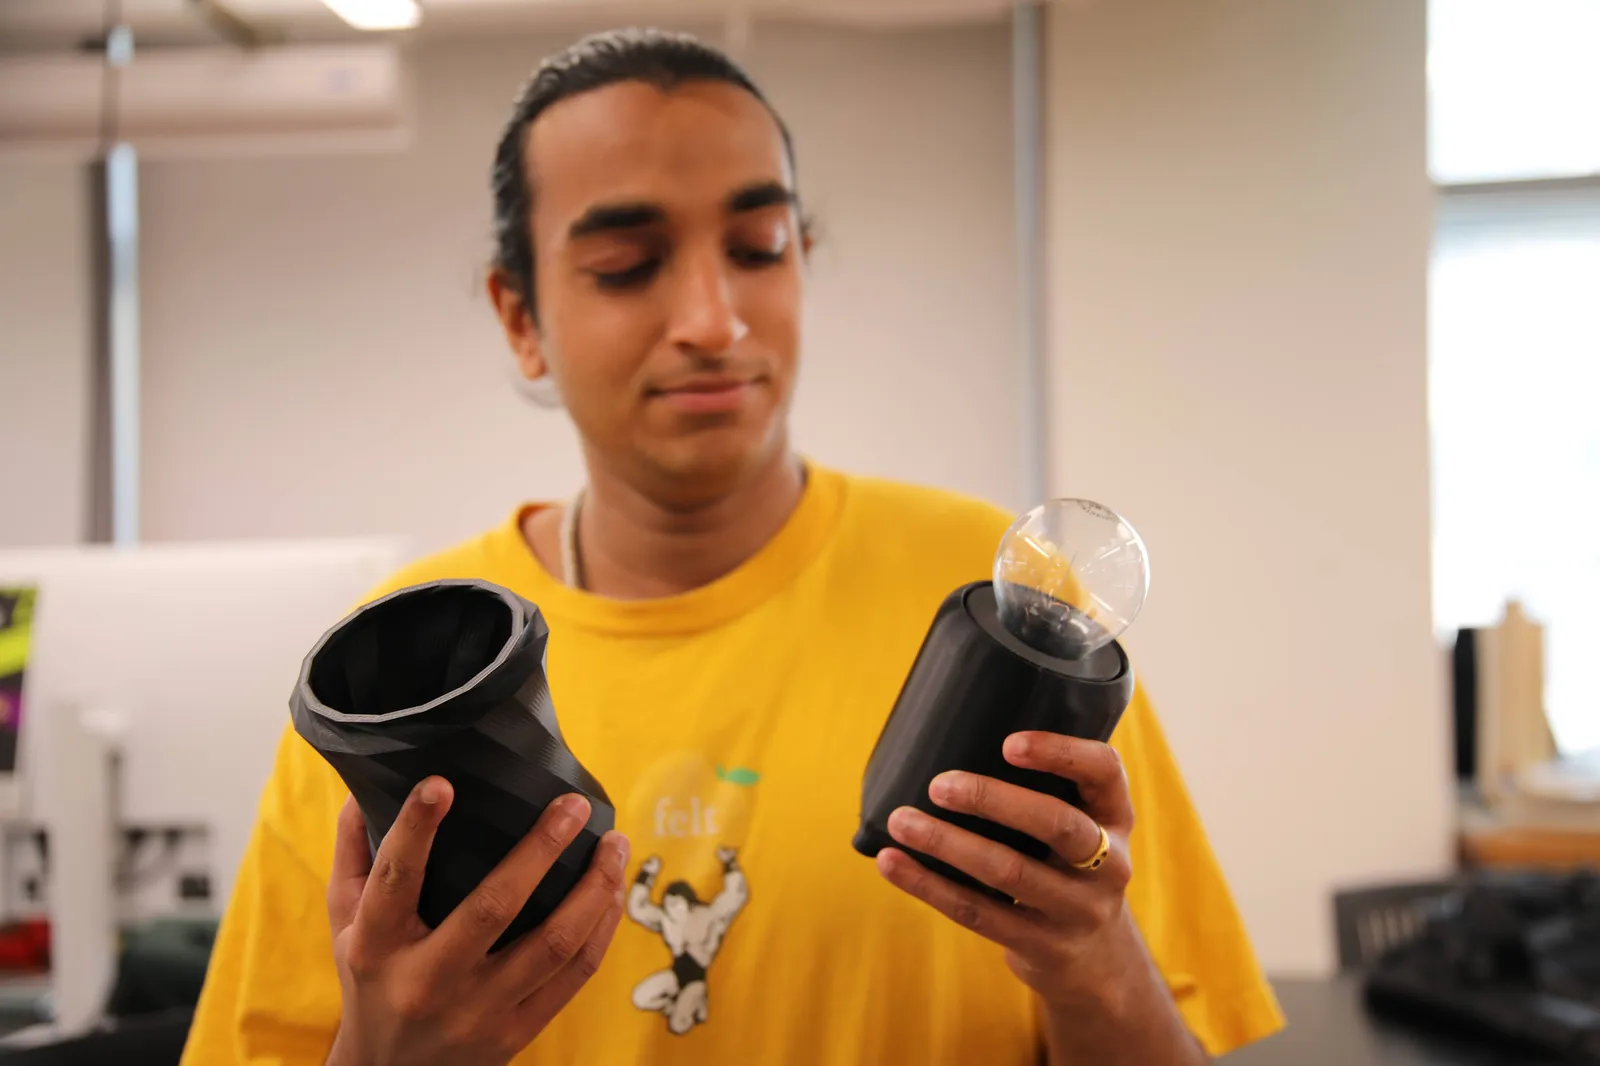
For the wiring, I used a simple lamp kit available on Amazon or AliExpress, then sketched a 3D-printed holder for it.
Making the base
The base was the hardest part. It had to be structurally sound, fit the kit and hold a lamp shade. I chose a three-legged base to reduce wobble. My first version was thin and small, and I later realized it needed to be wider to fit a ring for the shade. The second version is much thicker, carries its weight better and looks sturdier.
Materials and shades
As I worked on the base, I realized the shade wouldn't attach to it. It would sit loosely inside the ring, so every shade needed a ring at the bottom to fit.
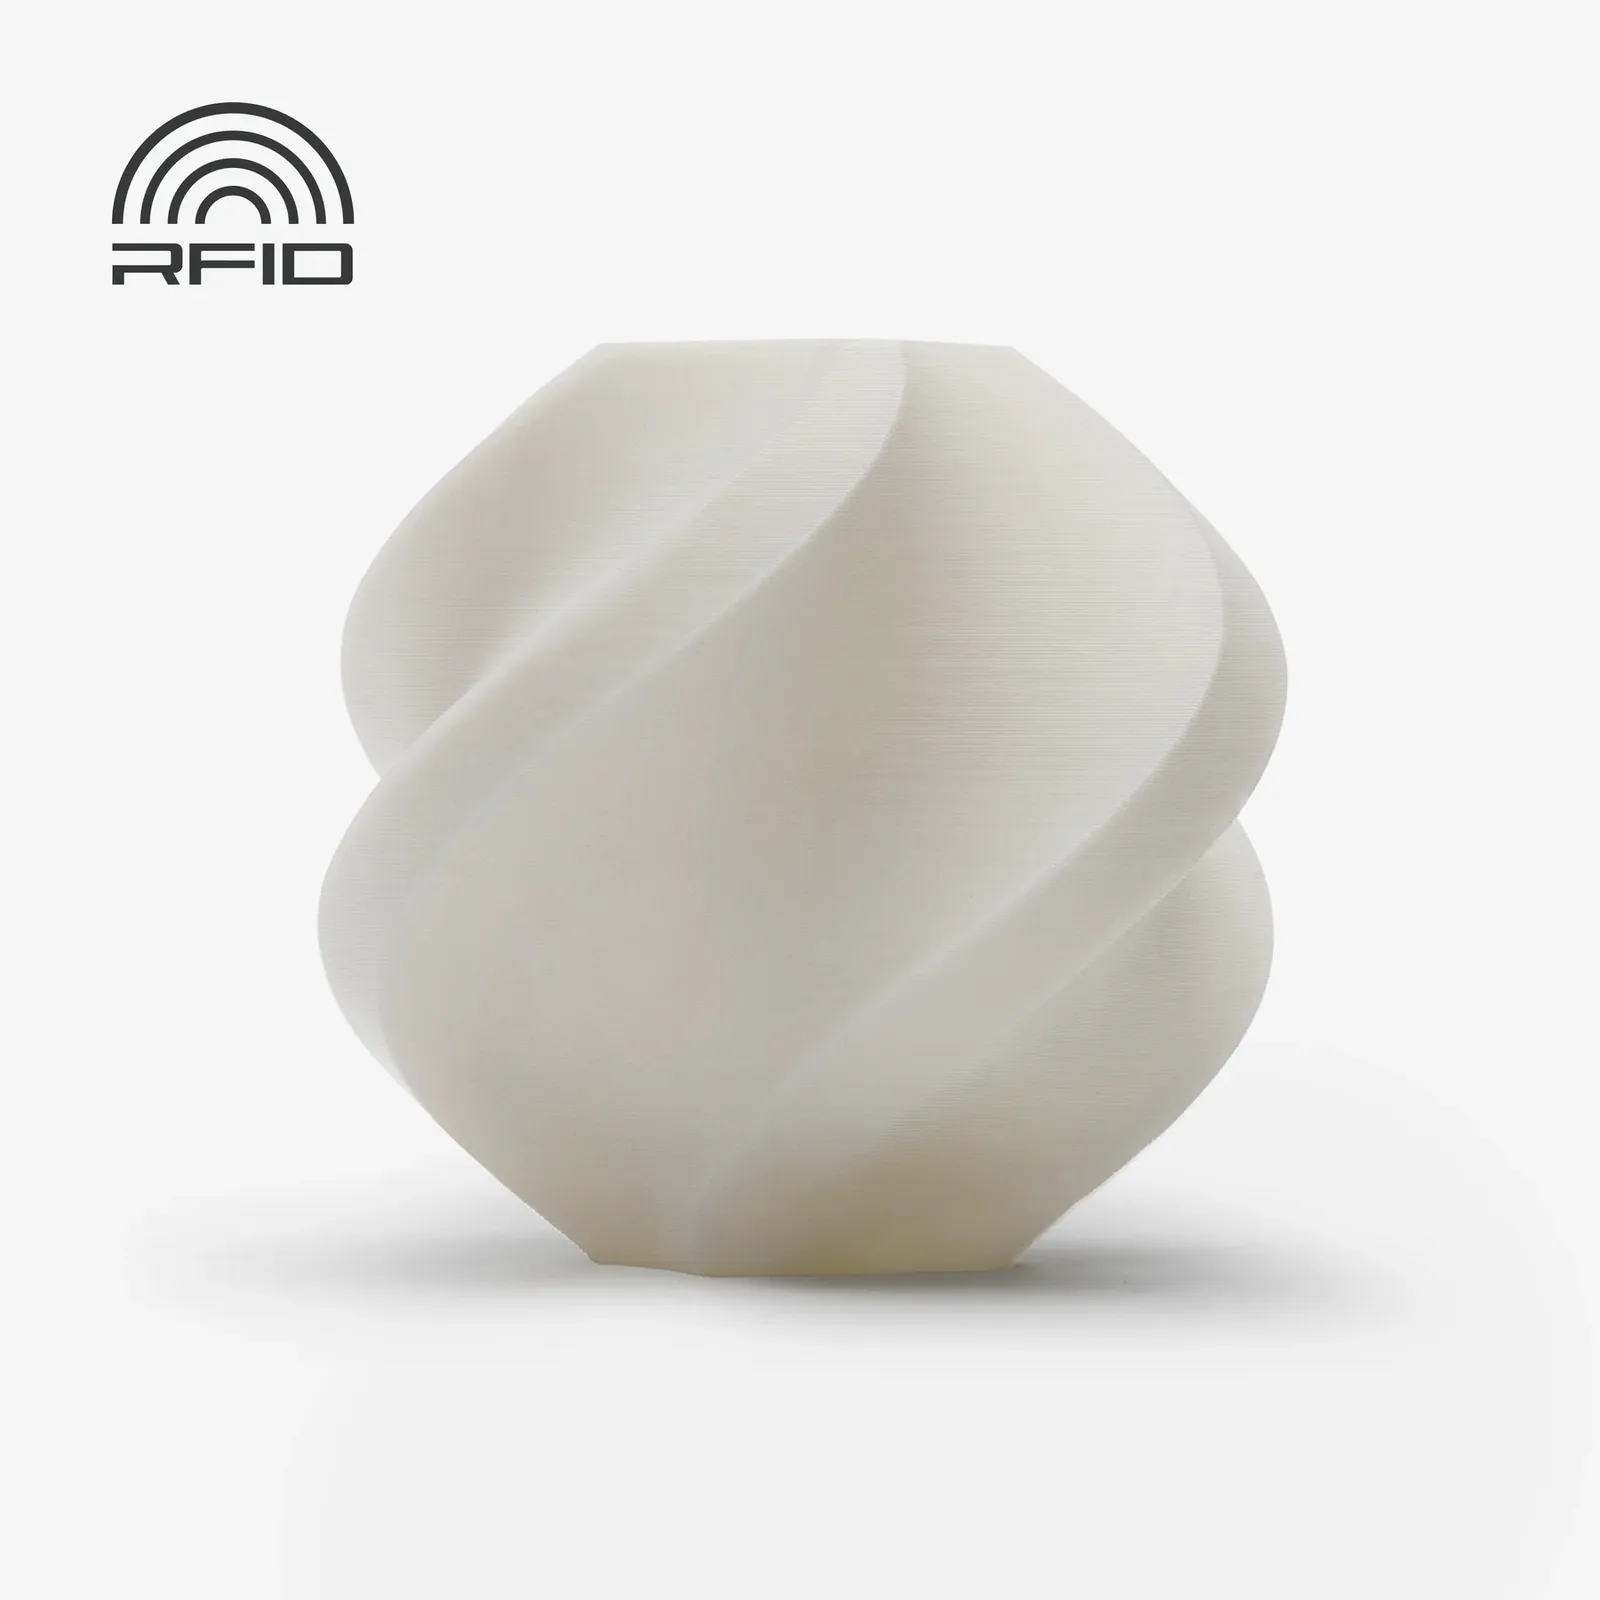
Next I chose a material for the shades. I planned to use translucent PETG because it lets light through, but switched to standard PLA for two reasons:
1. It's widely available and the default for most printers. 2. In testing, opaque white PLA absorbed more light and gave a softer glow.

Shade designs and printing
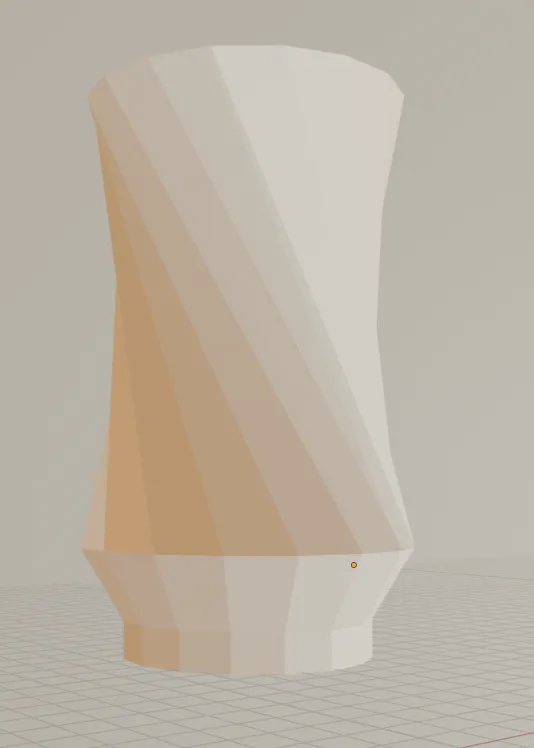
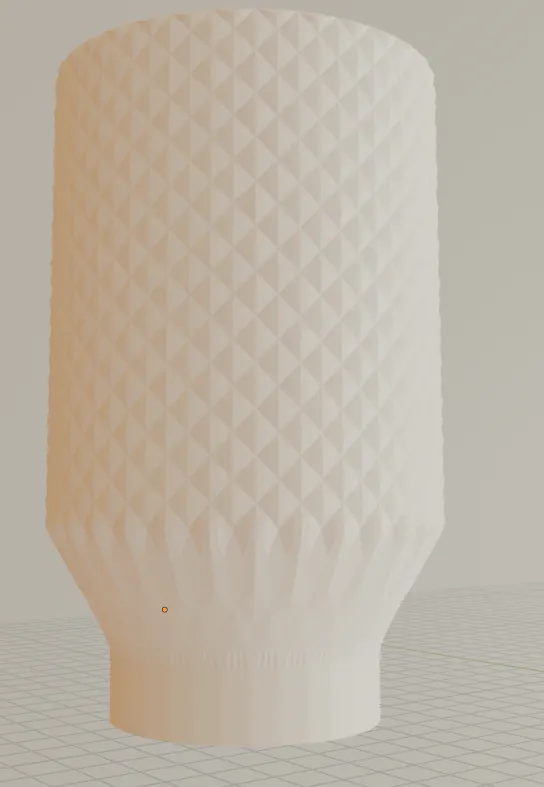
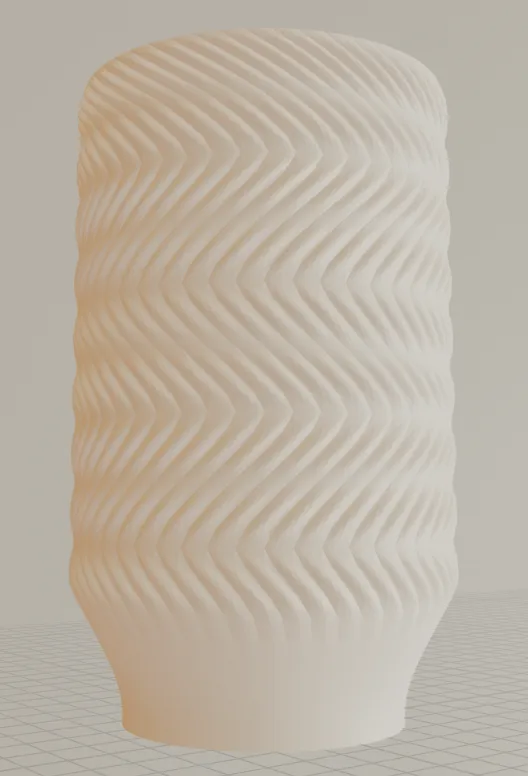
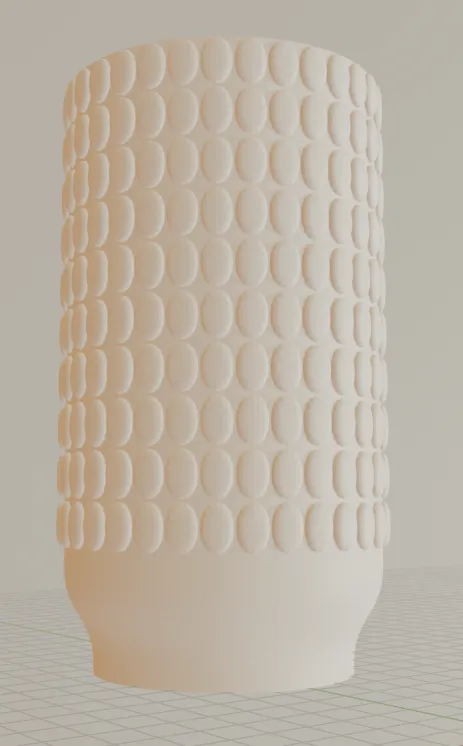
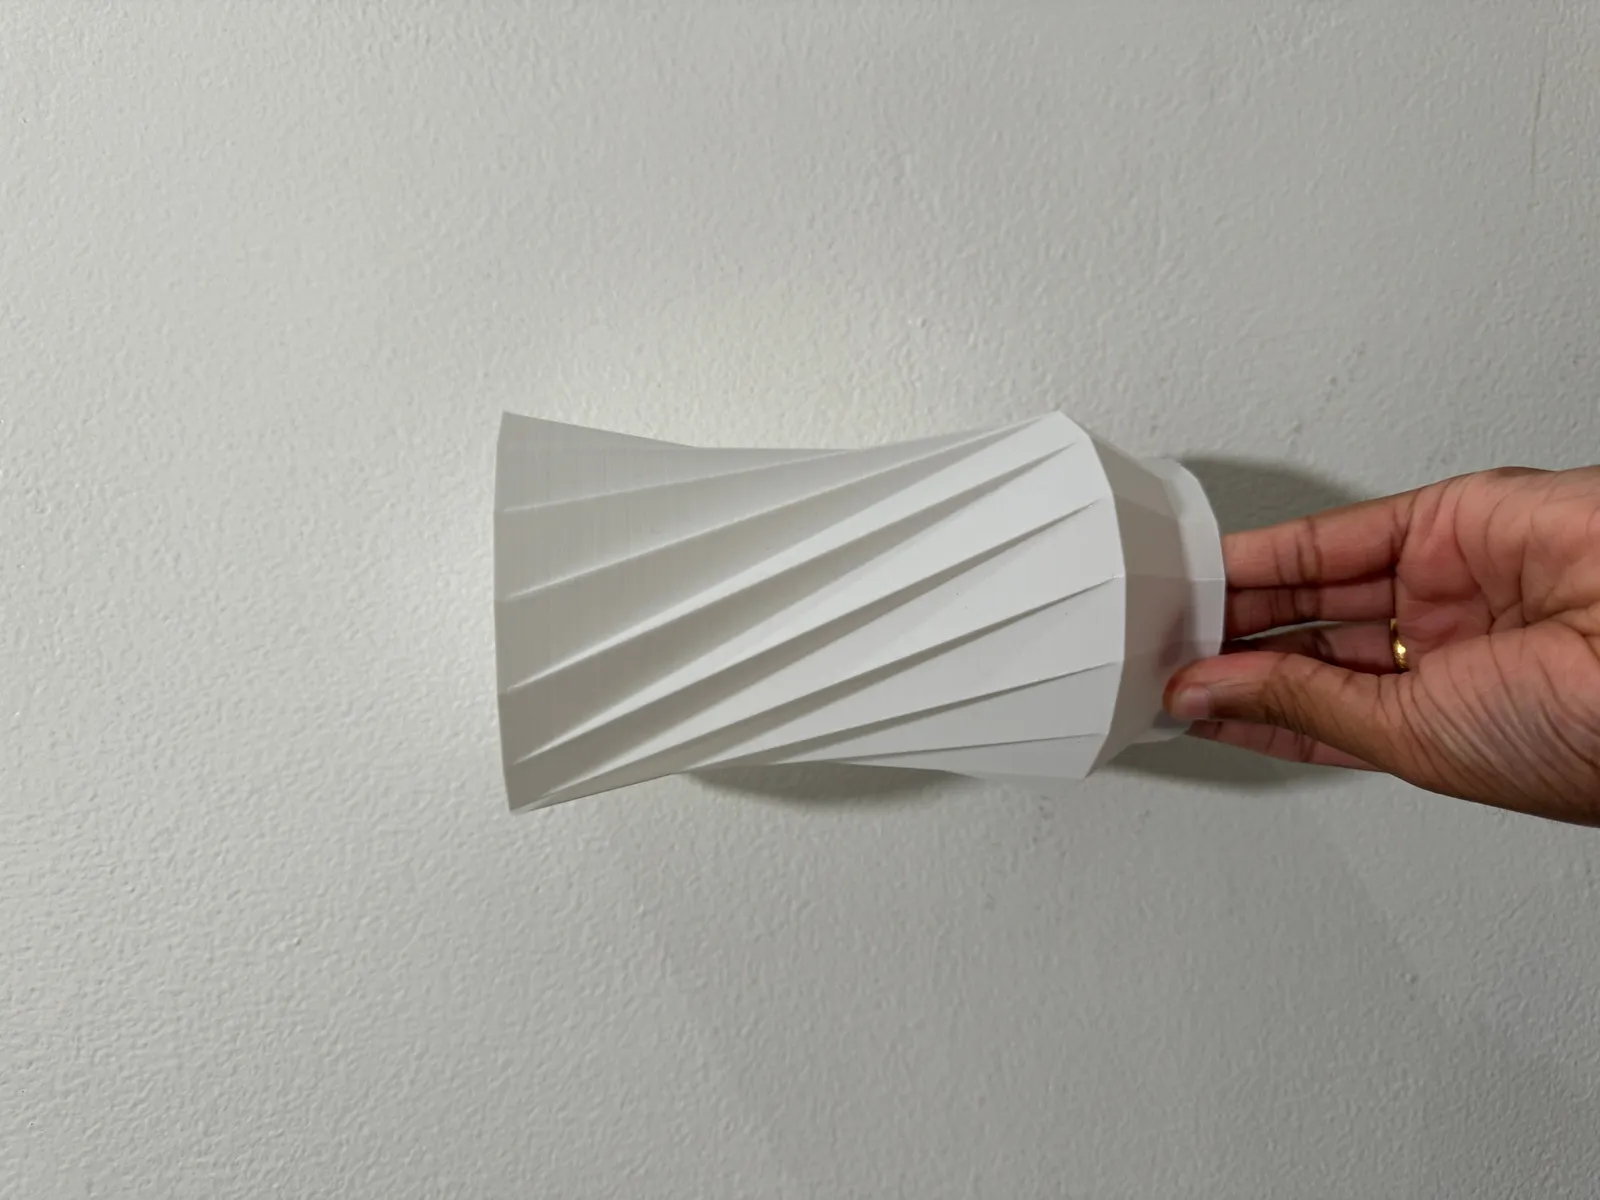
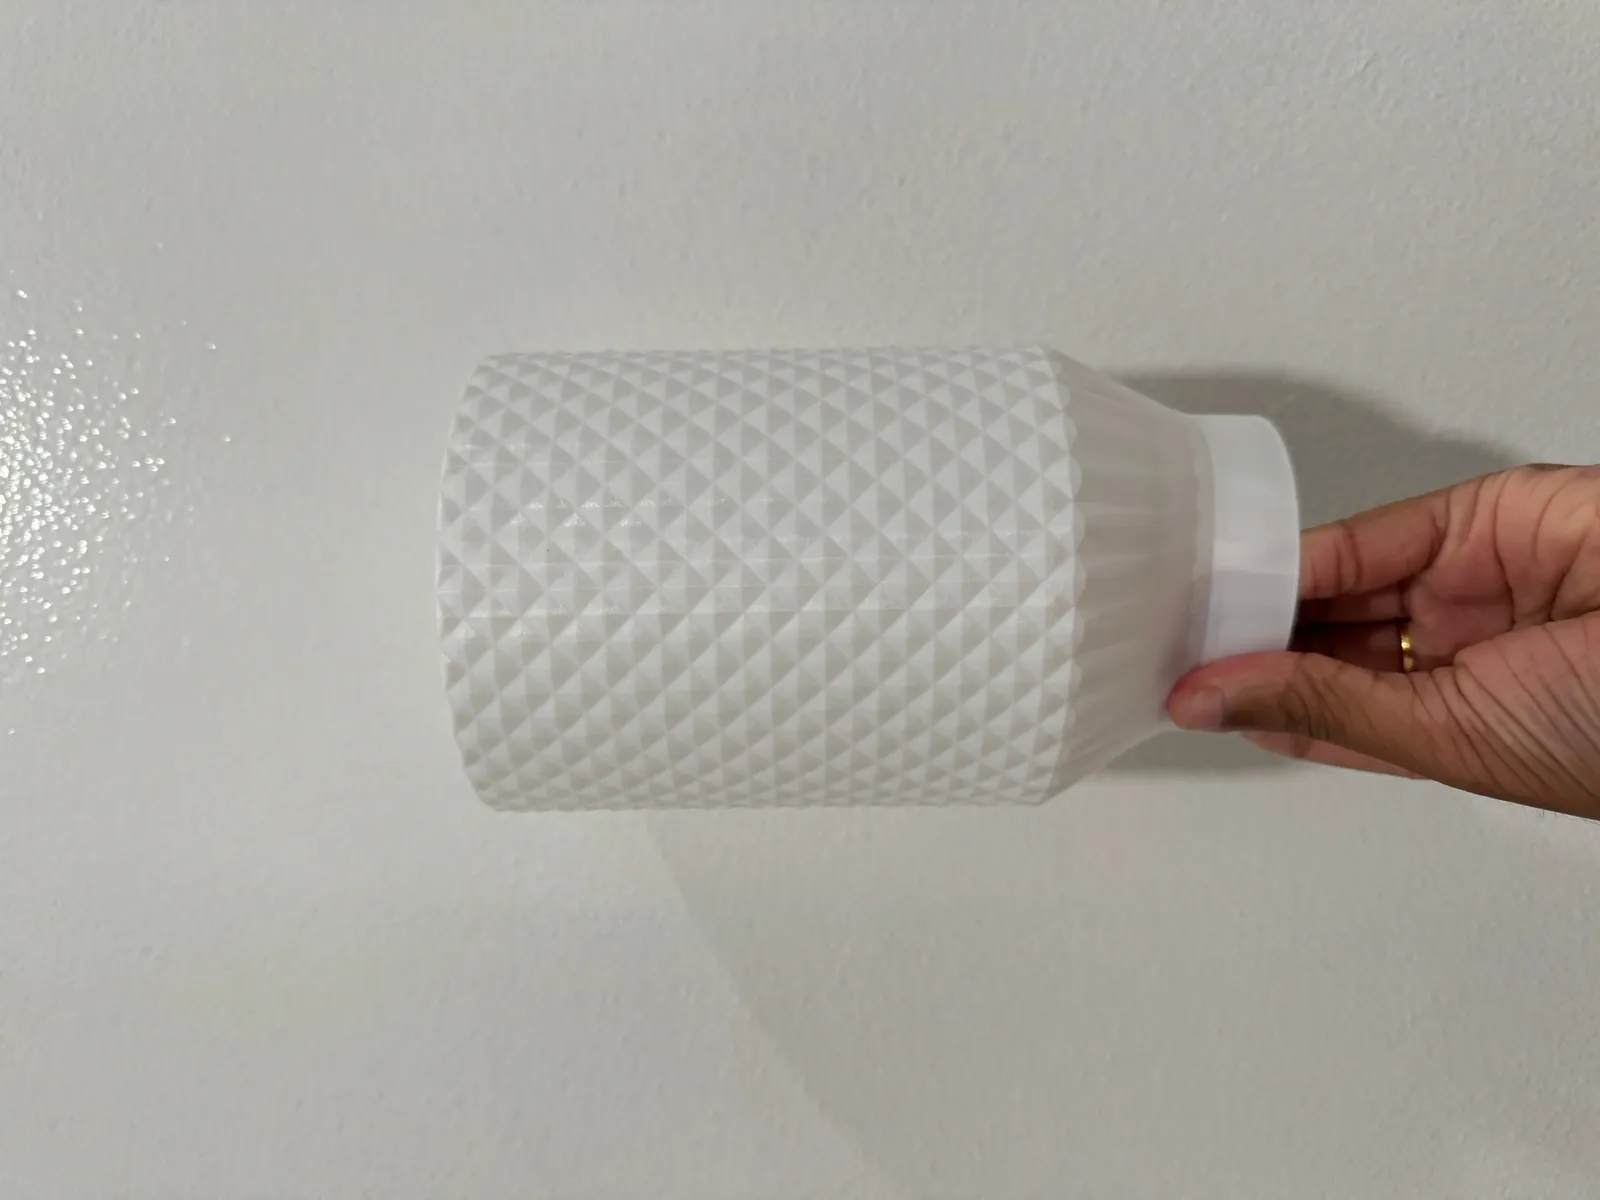
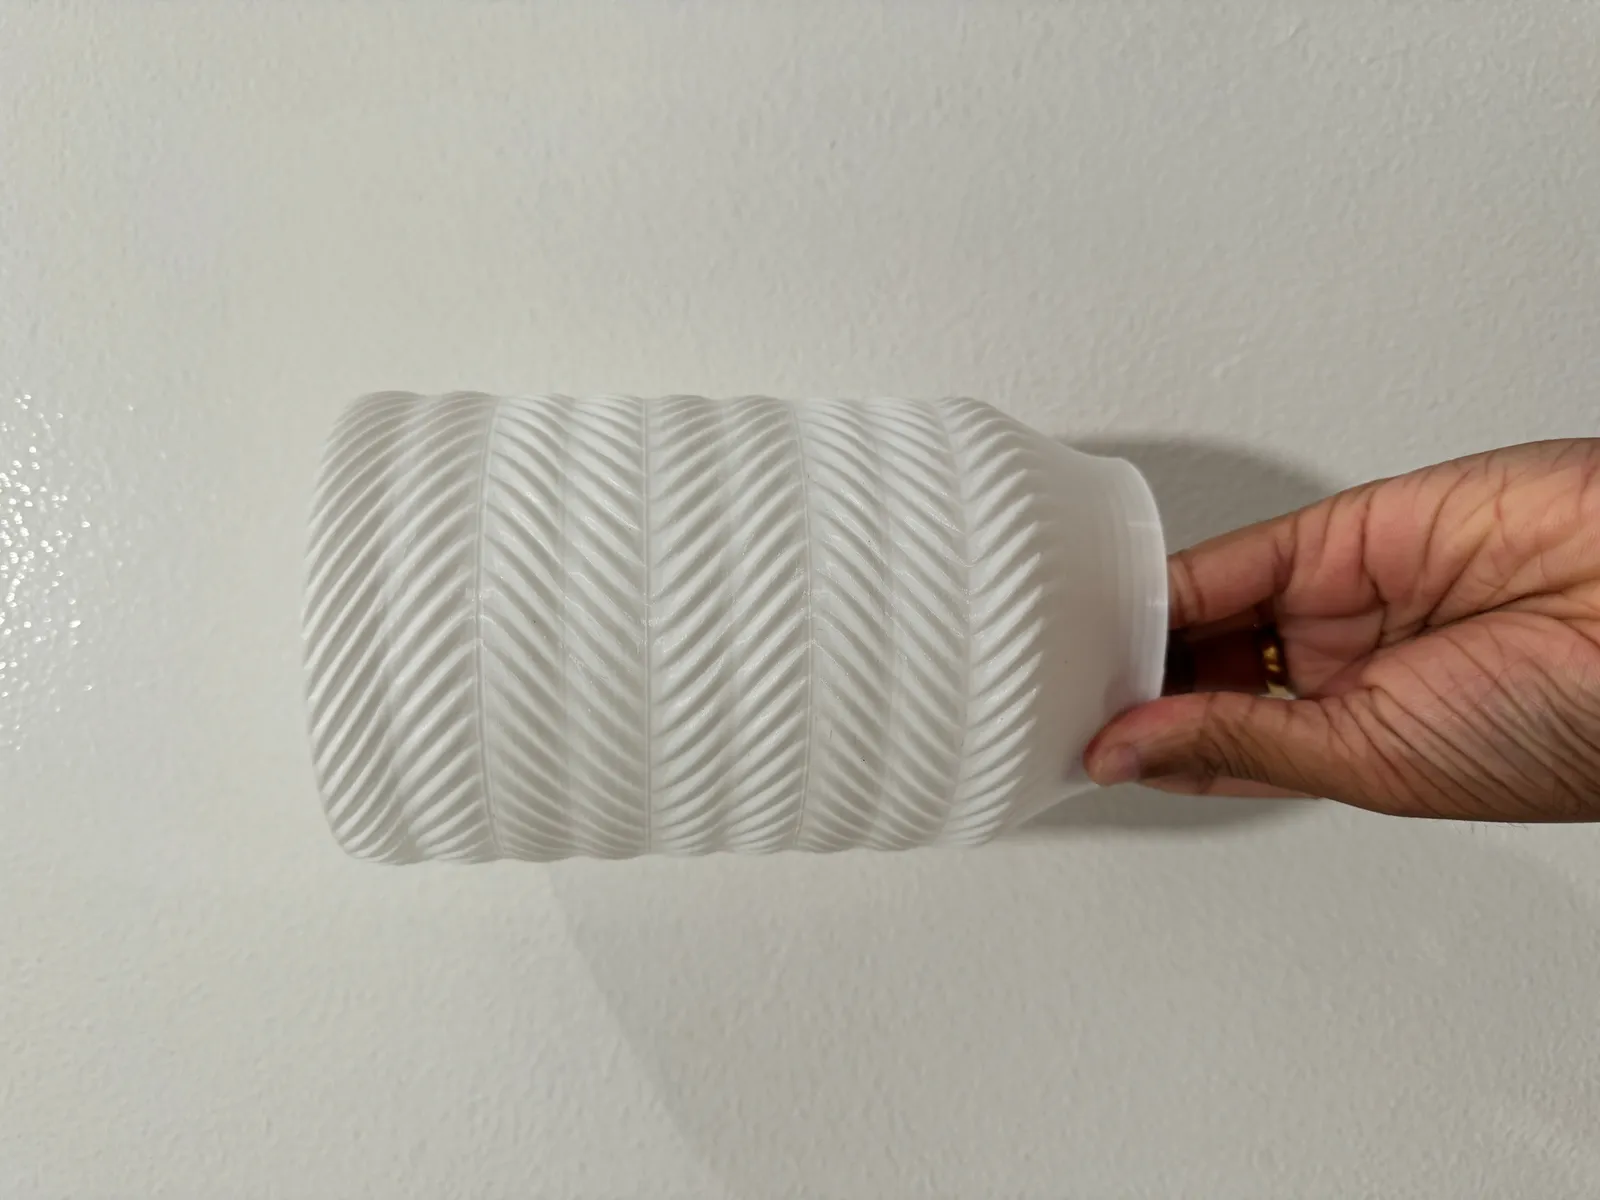
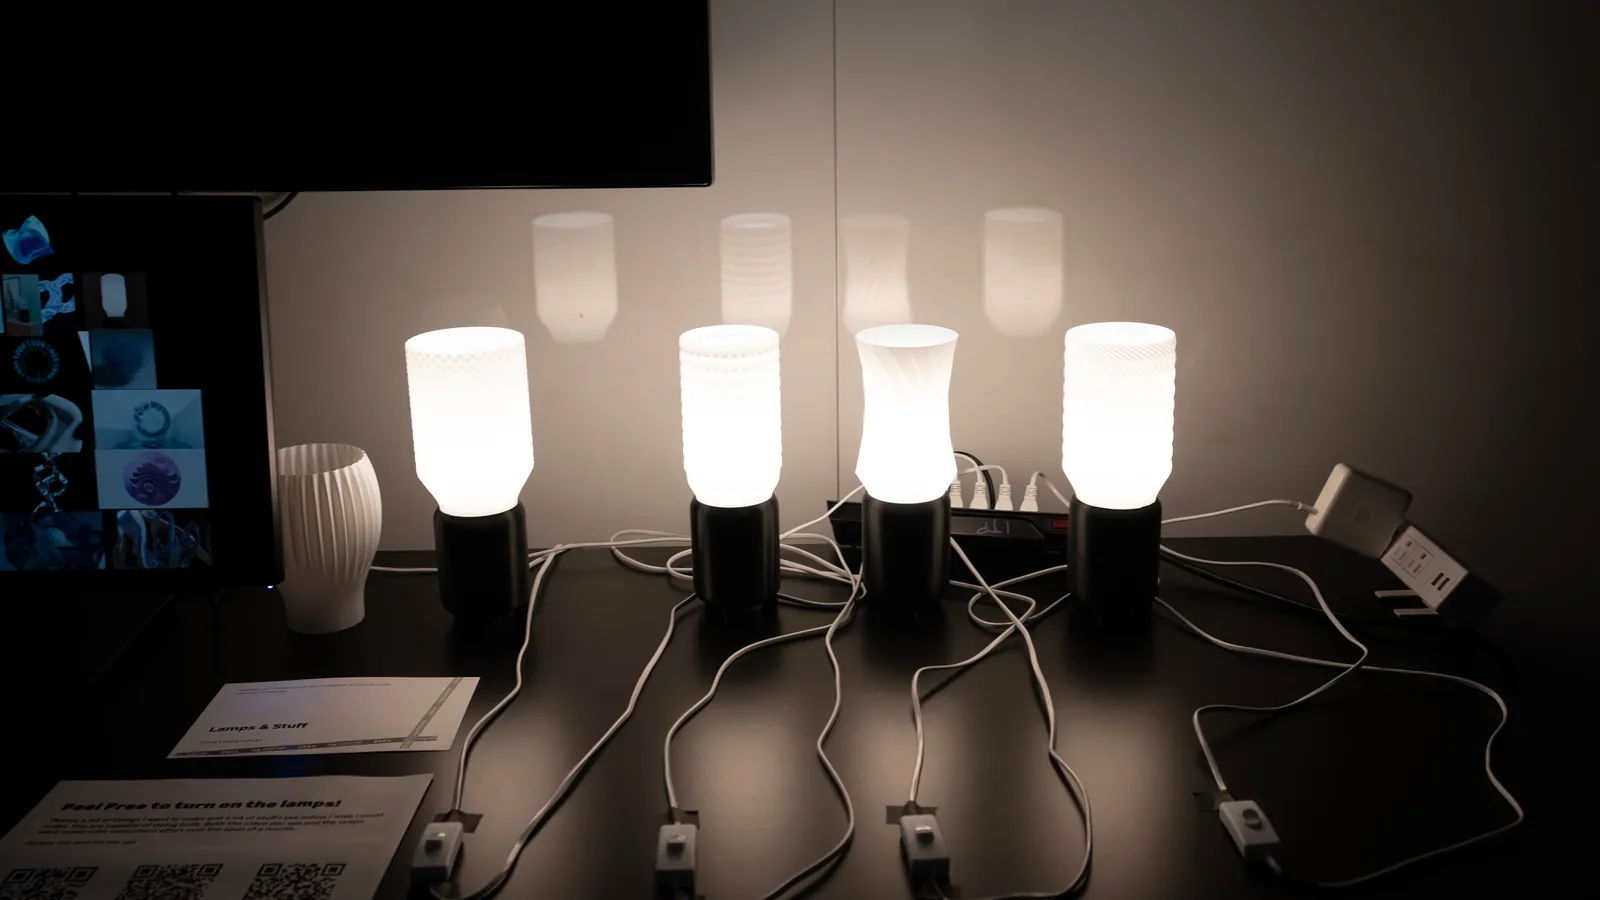
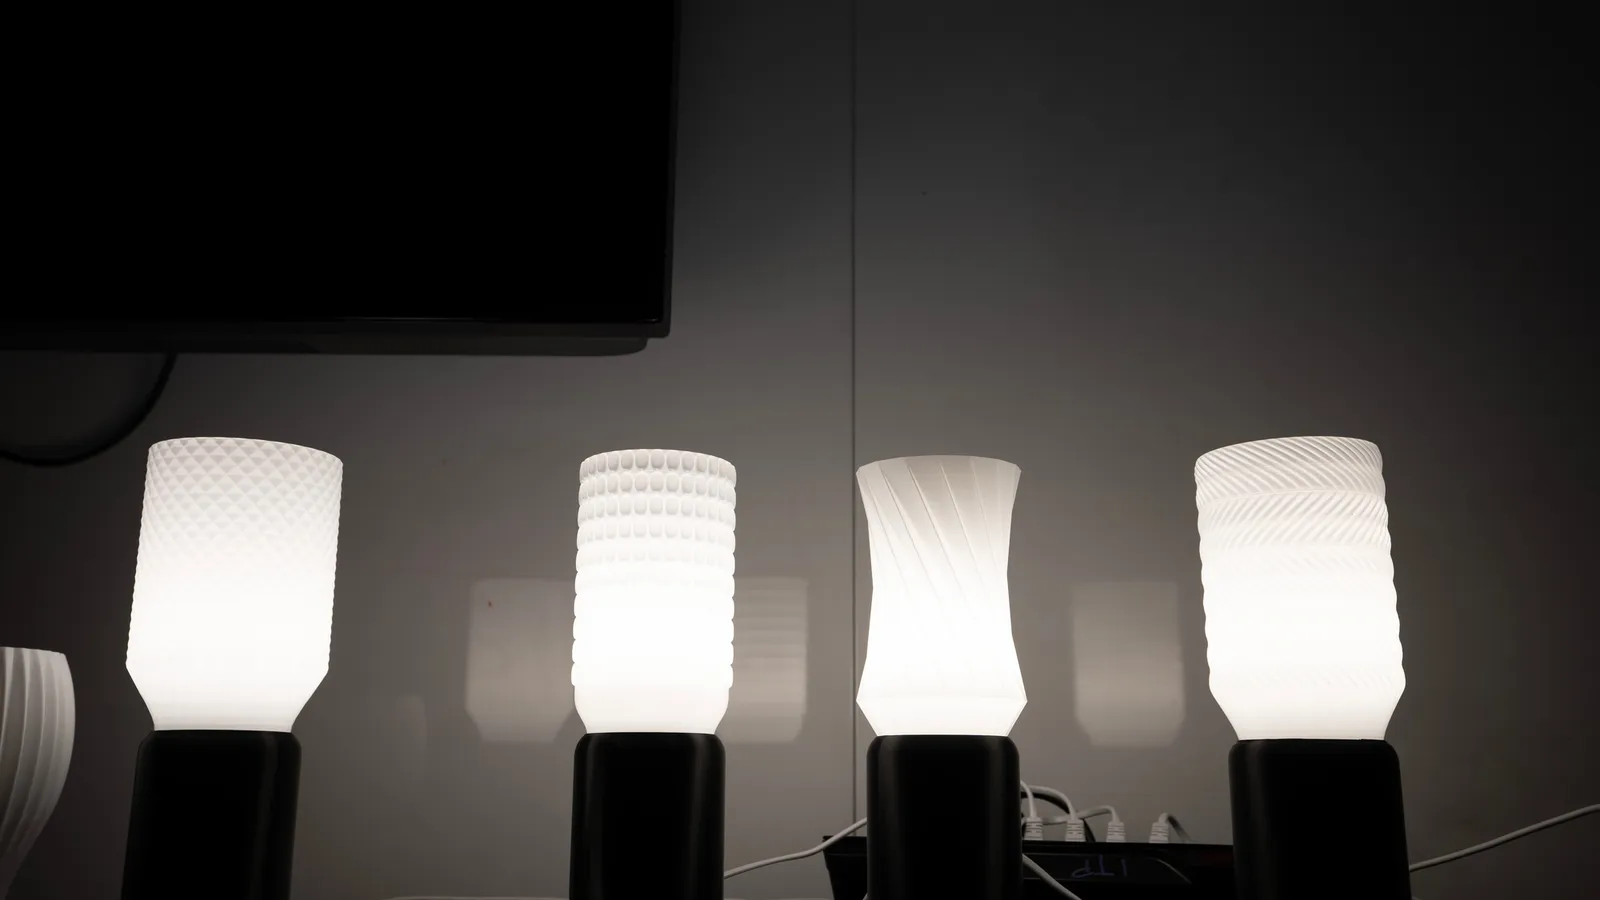
I used procedural shapes to give the shades a designer look. I'd normally use Grasshopper and Rhino, but chose Blender because it's free, so anyone with a laptop and a printer could make their own shades.
I manipulated the shades' edge loops to make symmetrical but distinctive designs, by rotating vertices across the top or pulling vertices out of poked faces.
Putting the pieces together
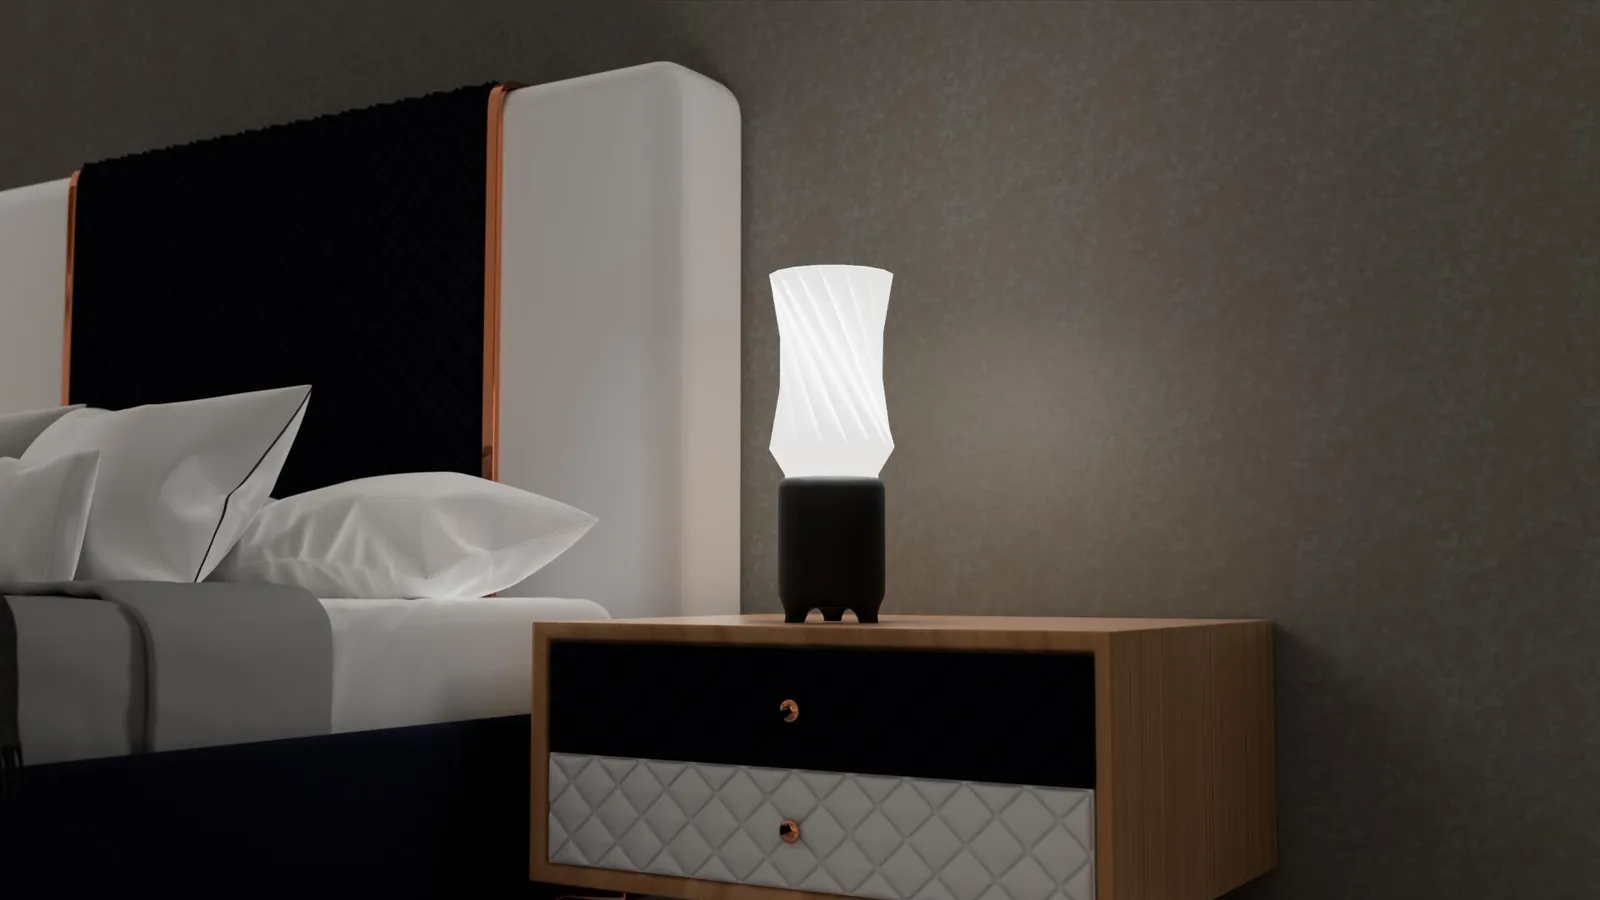
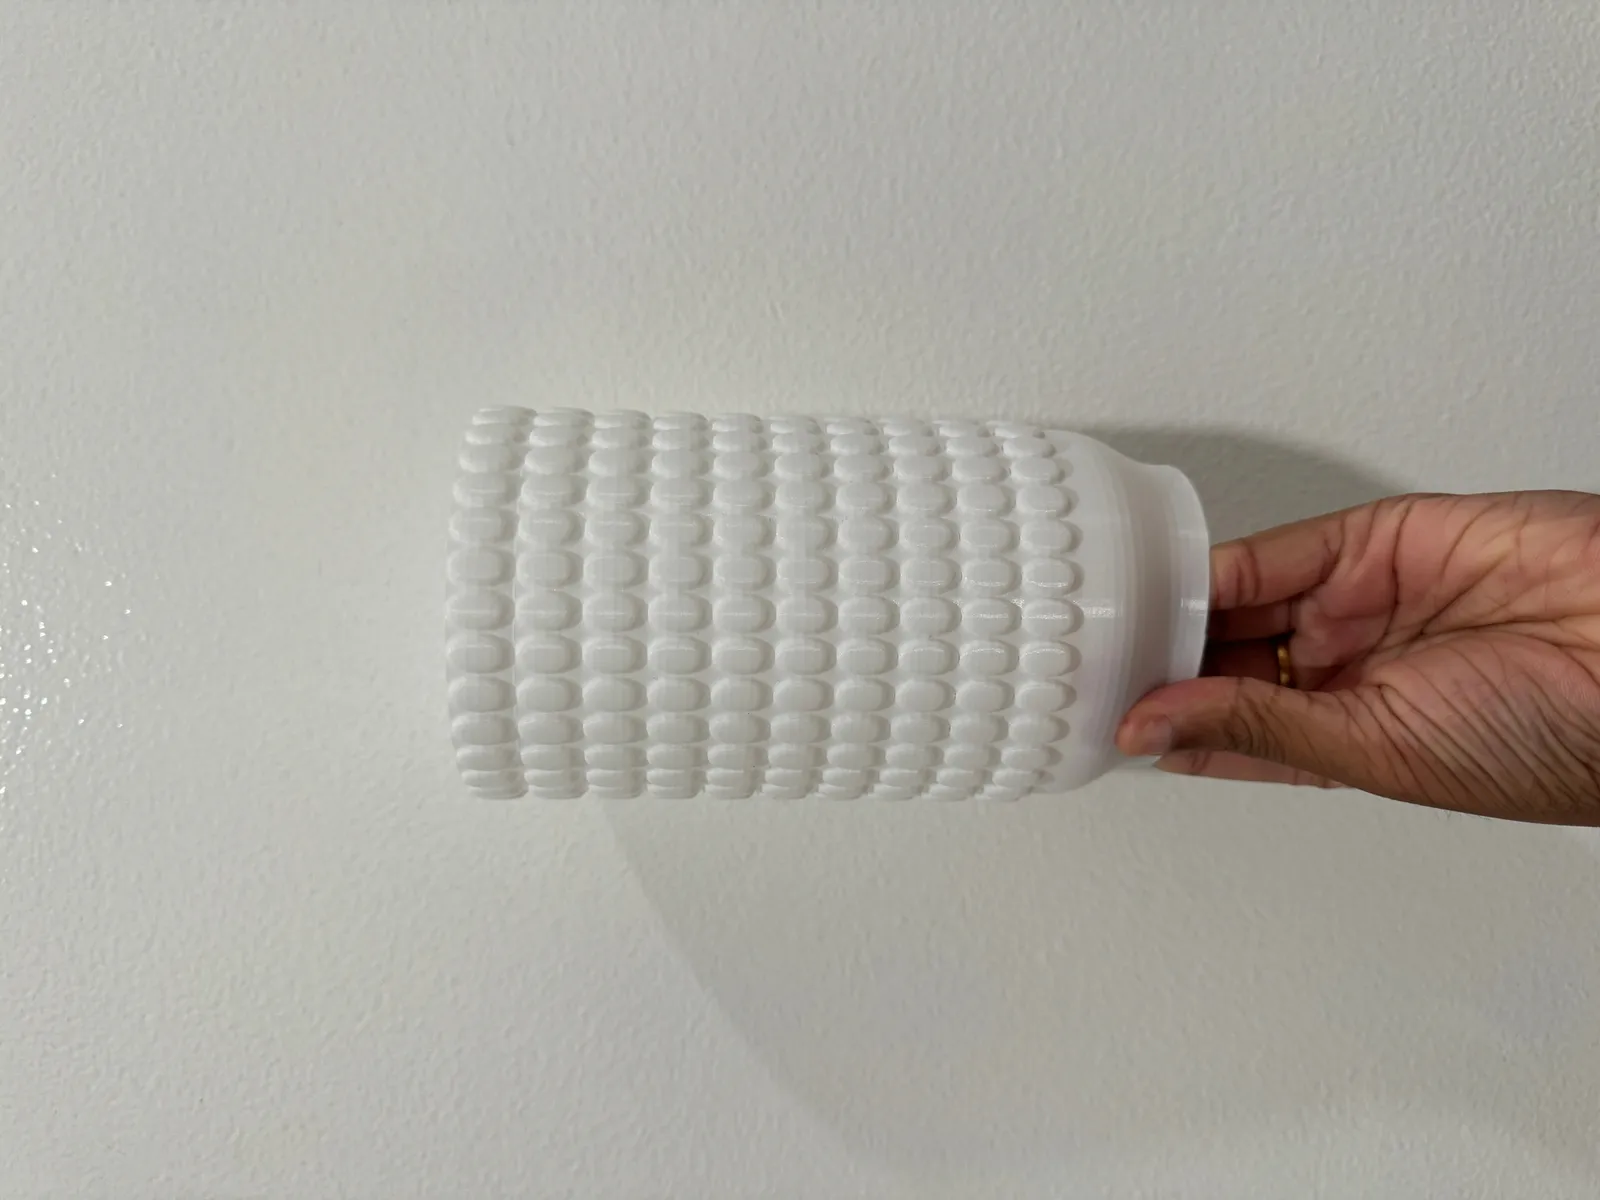
After some trial and error, I printed the shades in vase mode and the base at 20% infill. Rough measurements were enough to hold both the kit and the shade. The bulb's wattage set most of the glow, and printing without vase mode let the infill show through, which made it look more like a paper lamp.
Assembly and feedback
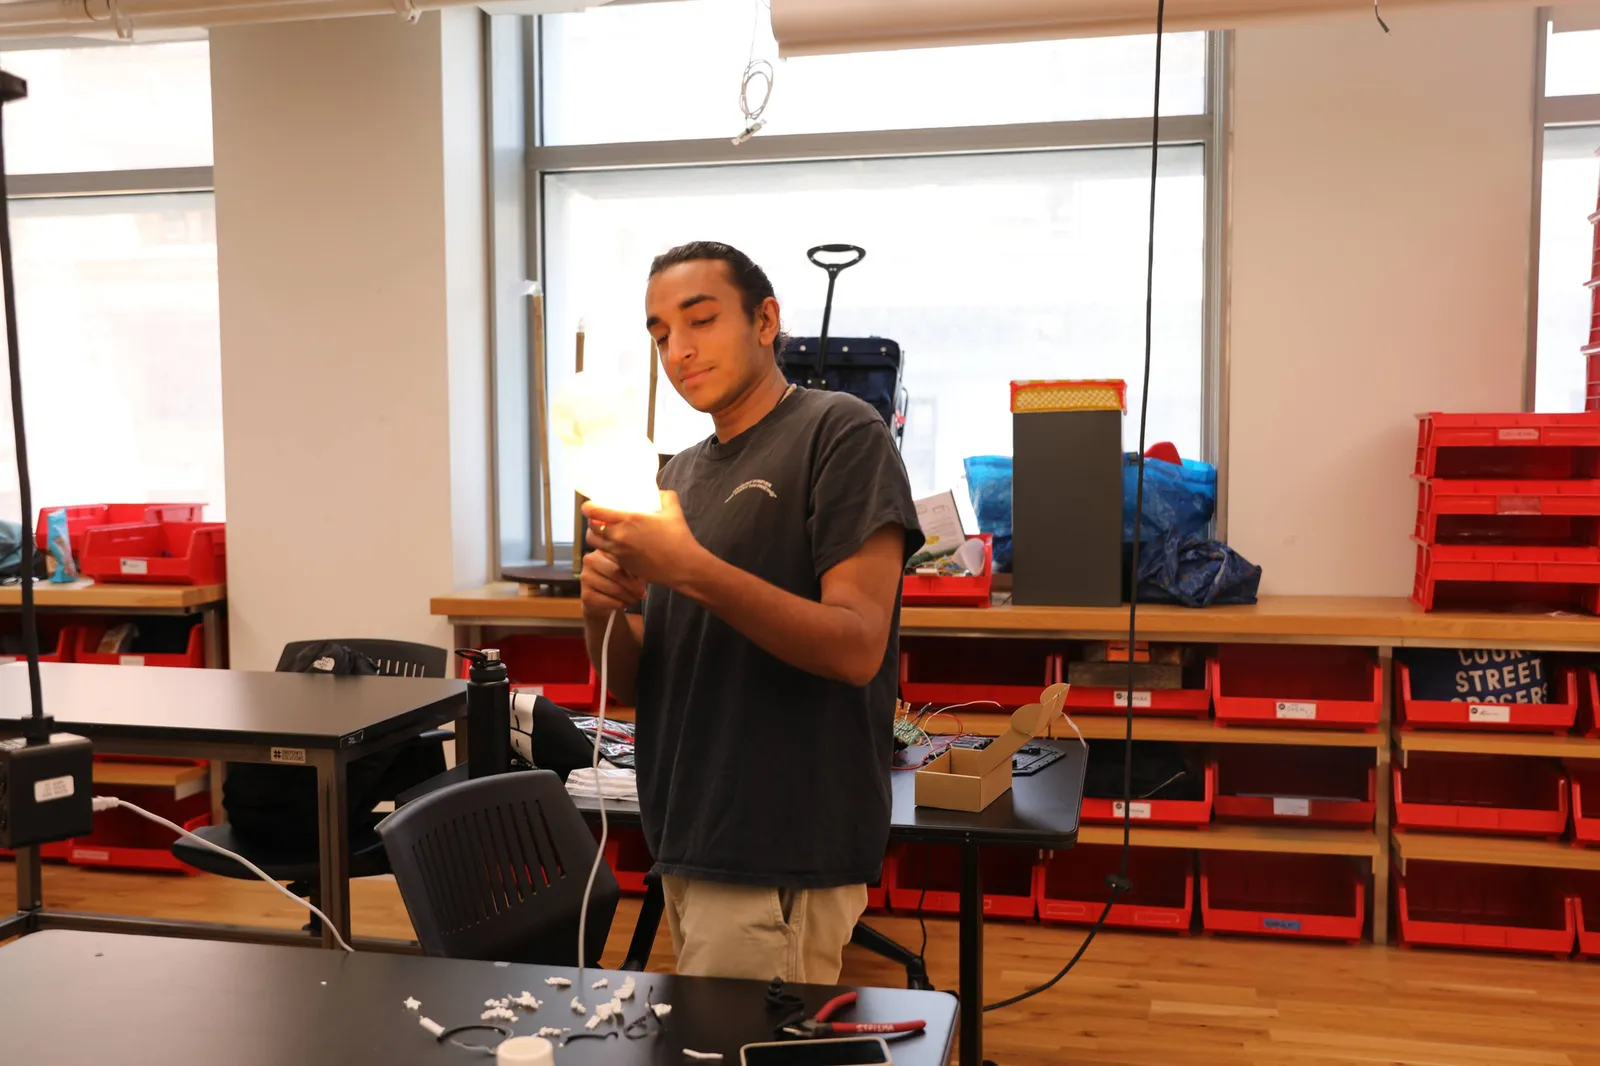
I put it together and showed friends for feedback. It looks great, but it's very light. It won't break, but it can slide off a table if it isn't placed carefully, which I overlooked. Everyone noted how functional it is, especially since each lamp cost about $4 in total.
Results
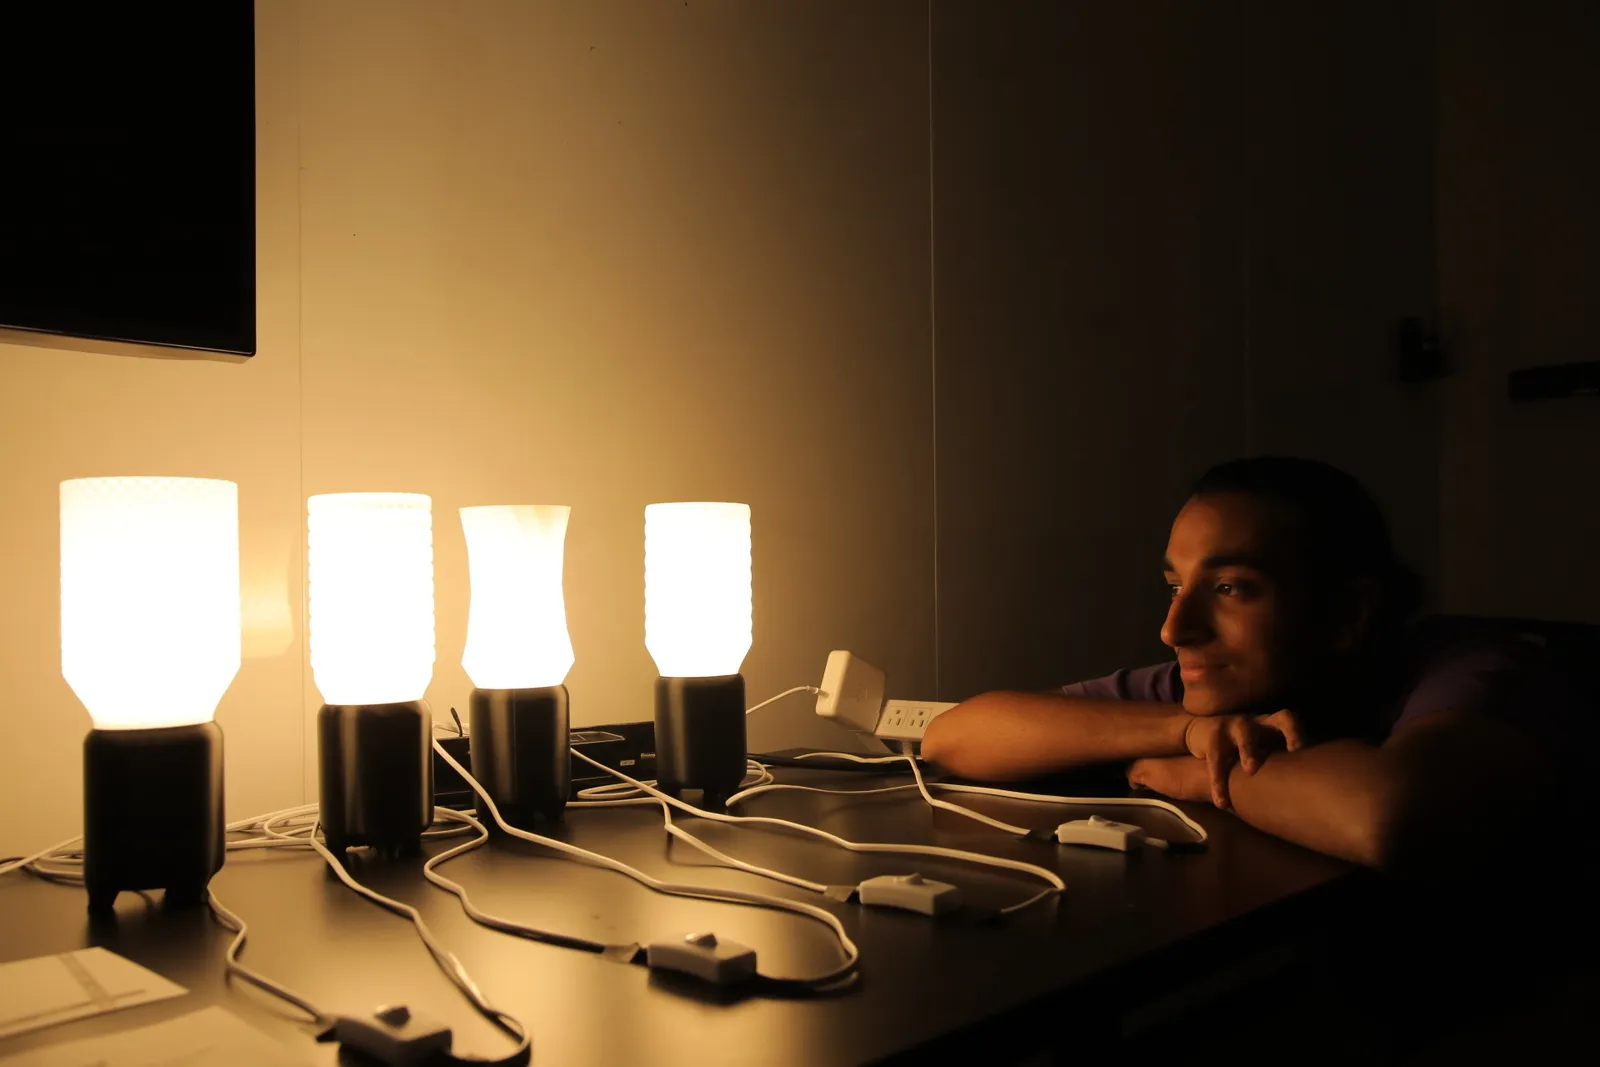
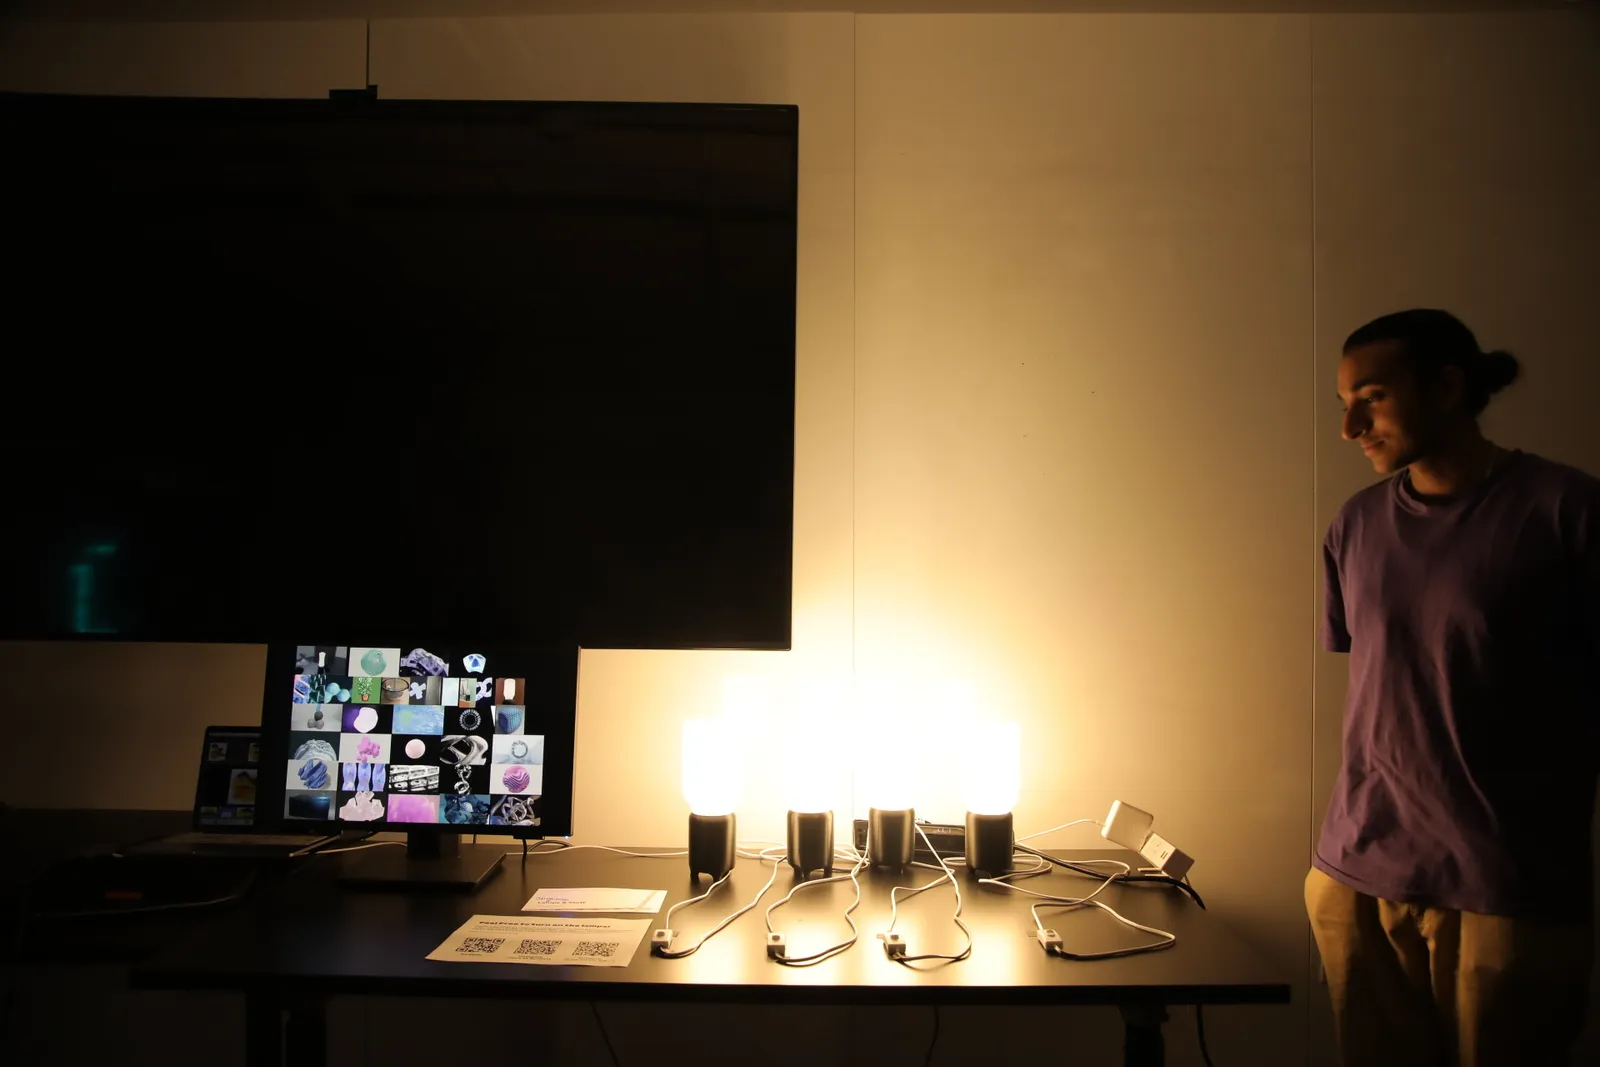
The final product is a sleek, affordable lamp that anyone could build or buy. My goal was a cheap lamp that still adds personality to a home, and I think it does that.
Takeaways and next steps
The lamps work, but I want to improve their quality and output. First I need to make them heavier and sturdier and fix some measurement issues. I'd like to sell them to people who are interested.
What I learned:
- Use one design tool for all measurements.
- 3D printing is error prone, so a better printer helps a lot.
- Products are much cheaper to make than I expected.